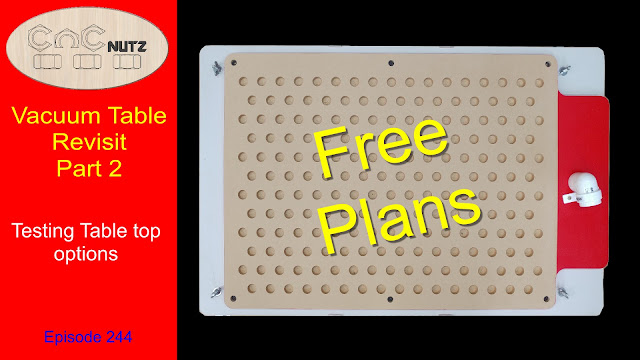
Welcome back to part 2 of my Vacuum Table build.
In this Video I investigate 2 tabletop designs for their holding ability, and talk about the vacuum I purchased for this project and if I get time to clean up my workshop.
I also I have links to the cad files for those who want them.
In the last video I built the table base from a piece on Melamine coated MDF and sealed the edges of it to prevent air leaks. The one thing I learnt for sure was that MDF is a very porous material and when it comes to air you need to seal it. I sealed mine with several coats of acrylic paint though you could also apply edge banding to the MDF as well. In that case you might want to keep the outside shape square for easier banding.
I also made a top that was plain MDF on which I skimmed 1mm of material off the entire back and 1mm off the vacuum area on the front. This is to open up the MDF by removing the compressed surface to get access to the less dense material for greater air flow. I made the tabletop as easy to make as possible as it is the part that will be damaged while in use and a new one can be made quickly once it has no more life left in it.
Material list
1 x 940 x 600 x19mm Melamine coated board for the bottom
1 x 3 metre length of 6mm rubber cord for oring seal
6 x 6mm thread inserts x13mm long
6 x 6mm counter sink head bolts 25mm long
1 x 840 x 600 x 19mm MDF for Table top
1 x 25mm 90 degree elbow for water pipe
1 x 32mm saddle to match elbow
Paint or similar to seal MDF edges and vacuum port entry area
Download the Cad drawings here.
The Zip file contains 3 drawings in 2 formats. Aspire 9.5 or higher and DXF
There is also a picture of the completed part for each file and a toolpath summary
Update:28/03/2020 Just added Vcarve Pro files for those using 9.5 or higher.
https://www.dropbox.com/sh/2sxn6jmmrfqbrbm/AADUteDLu20O1fqQsZUGEnpoa?dl=0
Packaging foam
The packaging foam I used in my experiments that shows the best results was from some packages I received in the mail. It was 0.5mm thick and I have not found this product available in stores in this thickness. I did find thicker versions of this packaging foam on line in 1mm, 2mm, 4mm thicknesses and from my tests I think 1mm will be the one to use. I have not tried this myself as I am currently unable to get the foam due to lock down conditions here in New Zealand but will try it out and update this page once I can get the required material. I think the added thickness of the foam will give better holding and provided a buffer for when you cut through the material.
I can buy 100m of 1mm thick x 600mm wide for about $46 NZD and this will cover the board in a single piece 180 times over. I need to do more testing.
https://www.hardypackaging.co.nz/products/polyfoam?
Vaccum
The Vacuum I chose for this project is the Karcher WD6P.
The ability to control the vacuum power level means I can reduce power of the vacuum to a level the will prevent the vacuum burning out. It also allowed me to test how the vacuum power level affected actual holding power. The Vacuum can only pull a certain amount of vacuum due to it's design and once it reaches that level it stops. Additional power provided to the vacuum gives only a minimal increase in vacuum but all the extra power has to go somewhere and it is dissipated as heat. 750 watts of wasted heat is a lot to get rid of.
Treat your vacuum with care and monitor it's heat output. If it is overheating stop and resolve the issue. Do not use a vacuum that relies on the air passing through the vacuum hose to keep it cool. Since you are blocking this cooling path it will burn out in a very short amount of time.
That's all for this project so until next time take care and I will see next time.
Cheers
Peter


Have you tried iron on film? I make a peripheral frame of film around my workpiece, undercutting it by about 1/2" under the workpiece. This has a good effect on the normally wasted vacuum outside the workpiece area. Of course this has to be customised each time. But where possible I cut the smallest piece first and then cut the film outwards to suit the bigger bits. It can be patched where required. Miles of film cost a negligible amount.
ReplyDeleteIt is useful also for sealing the edges of the MDF.
Regards
Rod Ashton
Not something I have thought of Rod
ReplyDeleteCheers Peter
Unable to download the file as it is reporting as corrupt. I have sent you an email with the exact error on it Peter.
ReplyDeleteThanks
Ian.
Please try again.
DeleteHi Peter, have you experimented with only cutting pockets in the main work area of the vacuum table instead of the whole things? Even if a the workplace is big it should still get reasonable vacuum and maybe do the job.
ReplyDeleteReally like this project and going to give it a go with some small modifications to fit my machine, I only have one vacuum and wondering if it I can use it for both the dust and vacuum table, I only have a standard Shapioko 4 so might be small enough to get away with.
I don't think you could retain the required vacuum for the hold down if you tried to use both at the same time.
ReplyDeleteCheers Peter