Throughout the month of November I will be entering the Javi's challenge which will means one video a day all through November. These videos will be short due to the work load required to post them but hopefully you will find them entertaining. So join Chip and myself for the month of November.
This page will cover each day of video entries Starting at day 21 until day 30
I will add new videos to the page so bookmark it and check back each day.
Cheers
Peter
Where possible I will post links to the files I use however this will not be possible for projects.
Day 21 starts with a disaster and a Massage Roller which might come in useful later on.
Files for this project courtesy of www.zenziwerken.de
Don't forget to check out the extensive range of CNC projects on his website.
If you would lime to make your own Tablesaw Sled angle gauges here is the link to the files.
http://bit.ly/2zYqqf7
http://bit.ly/2zYqqf7
Files for this project courtesy of www.zenziwerken.de
Don't forget to check out the extensive range of CNC projects on his website.
No file for this project as it is still a prototype. A new version will be created at a later date and files will be made available at that time for those interested.
Trying out the filler I used to seal the MDF cupboard on a 3D model.
How well does it work?
A DIY Pizza Peel or Pizza Paddle if you prefer
If you would like to make your own you can find the files here. Please note that they are only available in VCarve Pro format as the fluted toolpath will not work in DXF format.
http://bit.ly/2AbBy8q
This Boomerang file was created from a plan from the Kendall Davis website.
http://www.kendalldavis.us
The Ambidexter Boomerang plan. Use this shape your boomerang
Ambidexter.pdf
Only a VCarve file has been provided for this project as it uses a moulding toolpath that will not work in DXF format. The file was created using VCarve Pro 8.5 and will not open in earlier versions.
http://bit.ly/2Bkjpmb
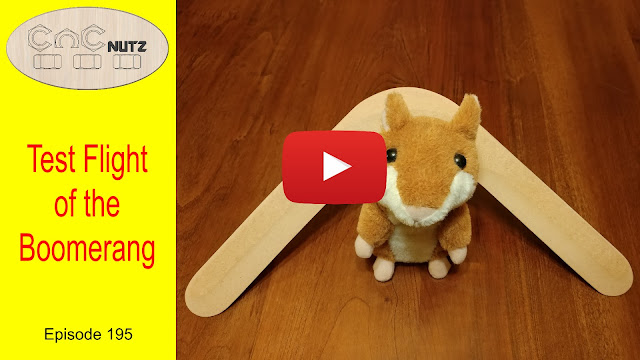
While waiting for some varnish to dry I took a break and tested the Boomerang. A quick watch of a couple of youtube videos to see how to throw it and here is the result.
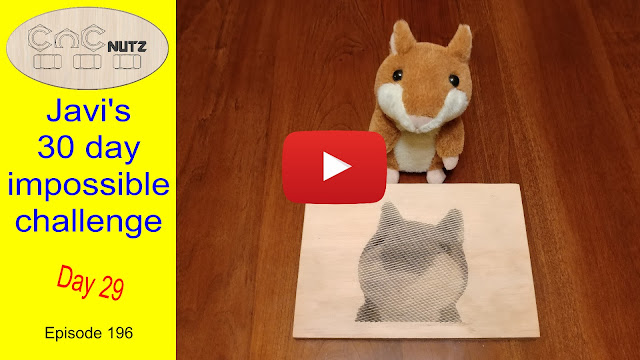
It's been a few years since I last did a PhotoVCarve. Looks like I still remember how.
I will make a new videoin the new year on how to use PhotoVcarve as it can be a bit of a blackart at times.
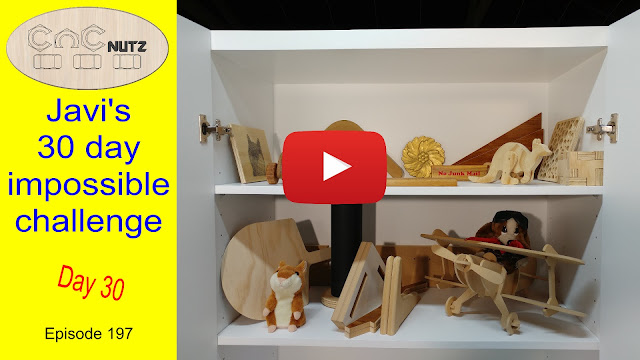
The final project of Javi's 30 Day almost impossible challenge. Thank you to all those who have taken the time to watched and commented on these videos. It has made it all the more enjoyable.
Pushstick files: http://bit.ly/2zAXKpw
Pushstick files: http://bit.ly/2zAXKpw
Thanks once again.
Cheers
Peter




Peter,
ReplyDeleteIt has been great fun waking up to your projects over the past month. Thanks for taking the time and making the effort.
A question:
You did some carvings then painted the carving then did a pocket path to remove the paint from the surface of the project. How deep was that pocket?
Thanks,
Dave
dhdeitrick@mac.com
Hi Dave,thanks for watching.
DeleteThe pocket depth was set very shallow at about 0.5mm or 20 thou if you live in the USA. It only needs to skim the paint off. If there is any sign that it isn't enouth then I would drop it another 0.25mm (10 thou) until I have removed all the paint. When I VCarve the original lettering or image I set a start depth of 0.5mm which ensures that the Vcarve is 0.5mm deeper than it would normally be and so when the skim is done it will loo correct.
Hope this helps.
Cheers
Peter
Peter love your work. I have trying to find 3mm or1/8” down cut spiral bits but have had no luck. Where can I locate them?
ReplyDelete